I'd been painting and lettering some wagon kits while this project gathered dust, so at least I now had some ideas about how to approach this stage.
I started with two coats of Vallejo acrylic matt varnish - thinned with a little water, applied with a flat brush and allowed to dry horizontally it leaves a reasonable finish for such a low-tech method.
I found that Fox transfer numbers F603 and 2450 provided everything I intended to use - diagonal stripes for the ends, vertical stripes for the grilles, double arrows, numbers and warning flashes.
For the cab end I cut the wasp-stripes to width and coated the end with Micro-set before sliding the stripes into place. You get several transfers on the sheet. This was fortunate as the first one slid irretrievably out of control. Once dry I cut out the windows and trimmed the ends with my sharpest scalpel. Huge relief as I seal with matt varnish.
The front end would be the real challenge though. I couldn't see me doing this in one go so I tackled it in sections, cutting each piece to size. Again, it didn't work first time but was worth the persevering.
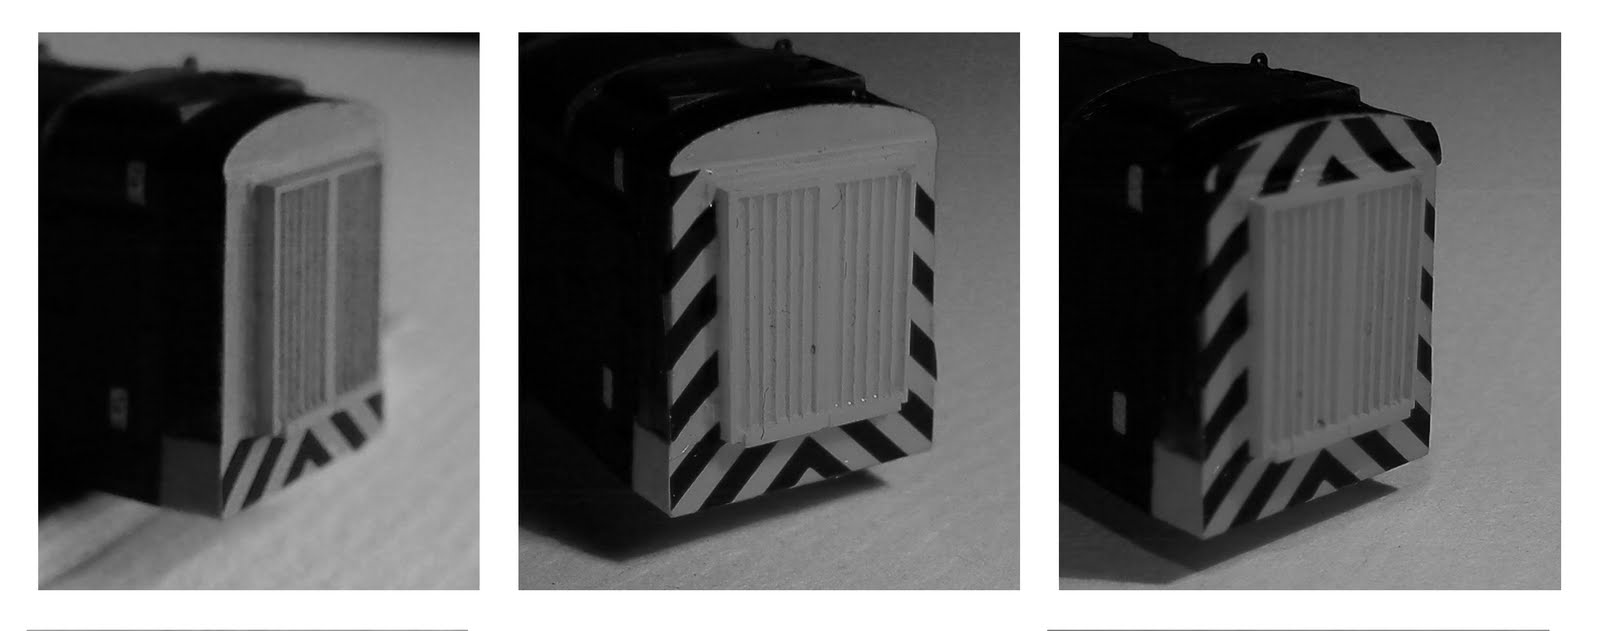
Coming to the side grilles, I realised that I'd have to pierce through the transfer to show the holes. I didn't want to do that for the yellow sections that were already correct so I only used the black parts of the stripes and fixed them individually (painting the stripes was out of the question with my unsteady hand). I used a broach to make the holes, then fixed the grilles.

No comments:
Post a Comment