When I bought this kit it was the most expensive modelling purchase I'd made. I saw it as an investment that would help me learn new skills and show a loco-newbie what's needed to "make the wheels go round" in a practical way. I've learnt a huge amount, often by making mistakes, and appreciate the help people online have offered.
I appreciate the pleasure of buying a "ready-to-run" loco and watching it move along the track. But it's hard to convey how much more satisfying it is to see something I've built myself doing the same. And even though I'm conscious of all the inaccuracies I've introduced along the way, you really can't see most of them without a close look.
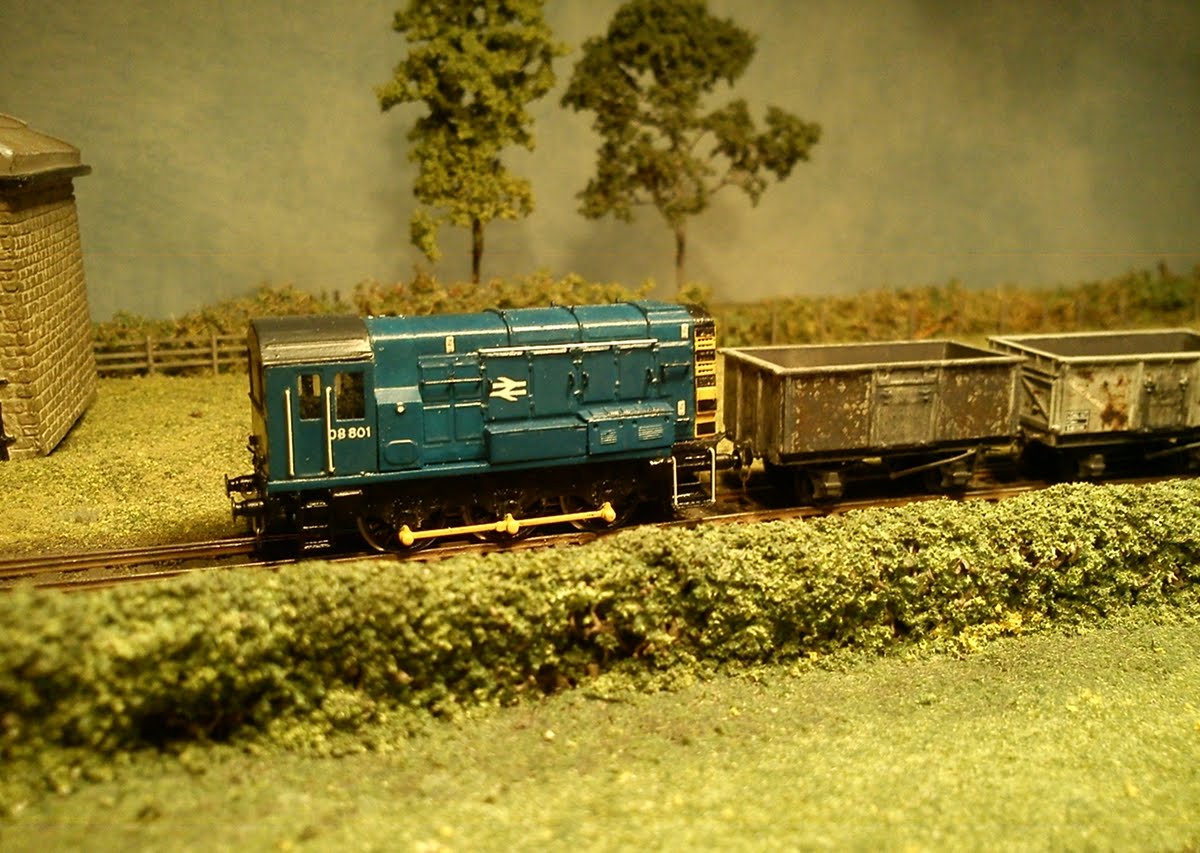
Having said that the lack of brakes was gnawing at me. Fortunately fitting them wasn't too tricky and they help conceal the bright metal flanges.

I hope to start another loco soon, this time with the people at Peco having done the hard work on the body, so I can concentrate on making fewer mistakes with the chassis.


